


Sourdough Baking the “Renegade Way”
I challenge the overly complex process of baking sourdough bread as it is presented by an army of experts.

The definition of “Renegade” is “a person who deserts and betrays an organization, country, or set of principles.” Regarding sourdough baking, I see myself as a renegade who challenges a set of principles. I challenge the overly complex process of baking sourdough bread as it is presented by an army of experts, online and in writing. Let me be clear: they are not wrong, and I am grateful for the valuable information they provided and delivered the foundation for this renegade guide.
The problem is that these experts can be the source of frustration for beginners when the loaf does not resemble the result these experts presented. They encourage you to accept less-than-mediocre outcomes, conduct an autopsy of the loaf and the sourdough starter, and keep baking until you get it right. This process requires time and patience, qualities that not everyone possesses.
Yes, baking sourdough requires considerable work and time, and there are no shortcuts to reduce the effort involved. Consequently, when you are serious about it, you will eventually investigate the science behind the baking process. However, beginners will be much more motivated when they create outstanding results from the beginning. Baking should be fun.
I have identified two key areas that can overwhelm a beginner and complicate any attempts: 1. Creating and maintaining a sourdough starter, and 2. achieving oven spring.
In future posts, I will explain these issues in detail, but here’s a quick reference:
Creating and maintaining a sourdough starter is a complex and time-consuming process. Failure is inevitable when the starter does not bubble, is fed at the wrong time, is fed too much or too little, smells terrible, is moldy, has been refrigerated, rises too much, gets too hot, or has other problems.
A starter should be fed daily, or even several times a day, which I find highly ineffective, time-consuming, and wasteful unless you use the remnants to bake crackers or pancakes. In contrast, our ancestors would take the leftover dough from one day and incorporate it into the new batch. That’s how I do it, and the results are excellent.
Even worse is the misleading obsession with “oven spring." The dough rises during the first ten to fifteen minutes of baking, creating large holes in the crumb. The truth is that the size of the holes in the crumb does not affect the taste. A good oven spring indicates proper fermentation, but even an under-fermented or over-fermented loaf is still delicious. Creating a “satisfactory” spring involves multiple steps, starting with feeding the sourdough starter, stretching and folding the dough, scoring (not too deep, not too shallow, but at the right angle), and baking (specifically the steaming). One missed step will mess up the result (not the taste).
My Baking Process
After stepping on too many toes, it’s time to back up my claims.

The above image shows roughly 120g of my “starter levain” in the fridge. (I am not using the term “sourdough starter” since the principle differs slightly from the general perception.) I bake once or twice weekly, and the levain works surprisingly well.
My baking process isn't revolutionary or new; all my methods are well-established. I follow the recipe with standard proportions (90% bread flour, 10% whole wheat, 75% hydration, 20% starter, 2% salt). That translates into:
450g King Arthur Bread Flour
50g King Arthur Whole Wheat Flour
375g Water
100g Starter Levain
10g Salt
And here is my timetable:
9:00 am
Mix bread flour and whole wheat.
Mix the starter levain with 50g of the flour mix and 50g of water.
Let sit for three hours.12:00 pm
Use 305g of water and add the starter levain mix and the remaining flour.Mix until all water is absorbed.
Let sit for 30 minutes.
12:30 pm
Mix salt with 20g of water and add to the dough.
Knead the dough for three to four minutes.
Let sit for 30 minutes.
1:00 pm
Stretch and fold the dough four times every 30 minutes.
Let sit for one hour.
4:00 pm
Remove 100g of the dough (starter levain) and keep it in a jar.
Shape the remaining dough and put it into a proofing basket.
Let sit for four hours.
8:00 pm
Put the dough into the fridge overnight for about 12 hours.
Bake at 8:00 am the next day.
On a side note, I maintain a dough temperature of 78°F/26°C, which determines the bulk fermentation and proofing times. I use a standard Dutch oven to bake (20 minutes with steam, 20 minutes with open cover). The only significant investment I made is for the Brod & Taylor Folding Proofer after I learned how vital temperature control is. It was a game-changer for me.
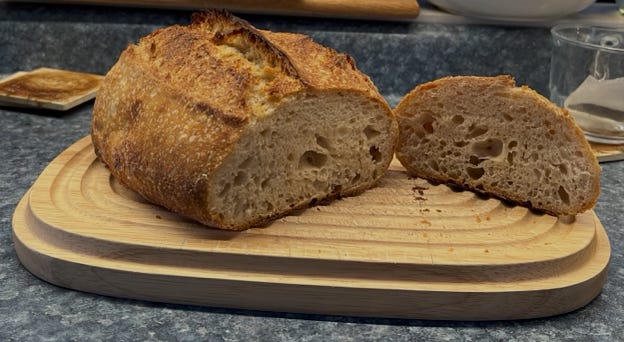
The result is shown at the top of this page. I am still working on optimizations to make the crust thicker and darker (a personal reference). Still, the crust is crunchy, the taste is excellent, not too tangy, and the loaf is great with some prosciutto or Italian cold cuts.
I will follow up with more posts and insights on the sourdough baking process and address the topic of creating your first starter levain.
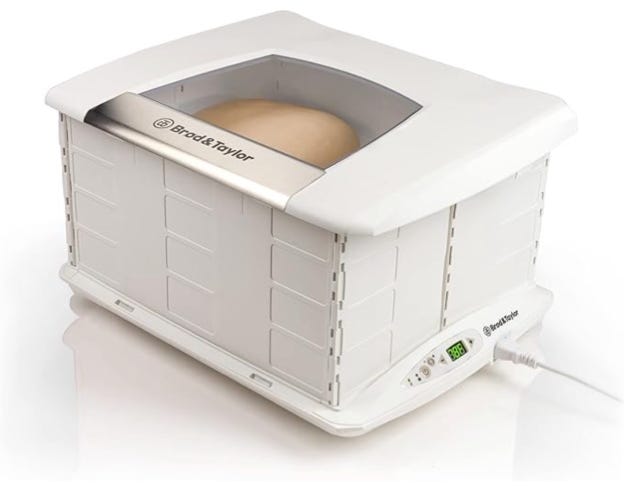
The Brod & Taylor Folding Proofer offers home cooks the benefits of a commercial kitchen tool—accurate temperature and predictable results—in an elegant appliance that folds for storage. Its temperature and humidity control are perfect for rising and fermenting yeast bread dough or sourdough. More Information…